
Deploy Solidity Contract from Remix
In this tutorial, we will deploy a Solidity smart contract to QF Network using Remix IDE, a web-based tool that allows developers to write, compile, deploy, and interact with Solidity smart contracts directly from the browser.
-
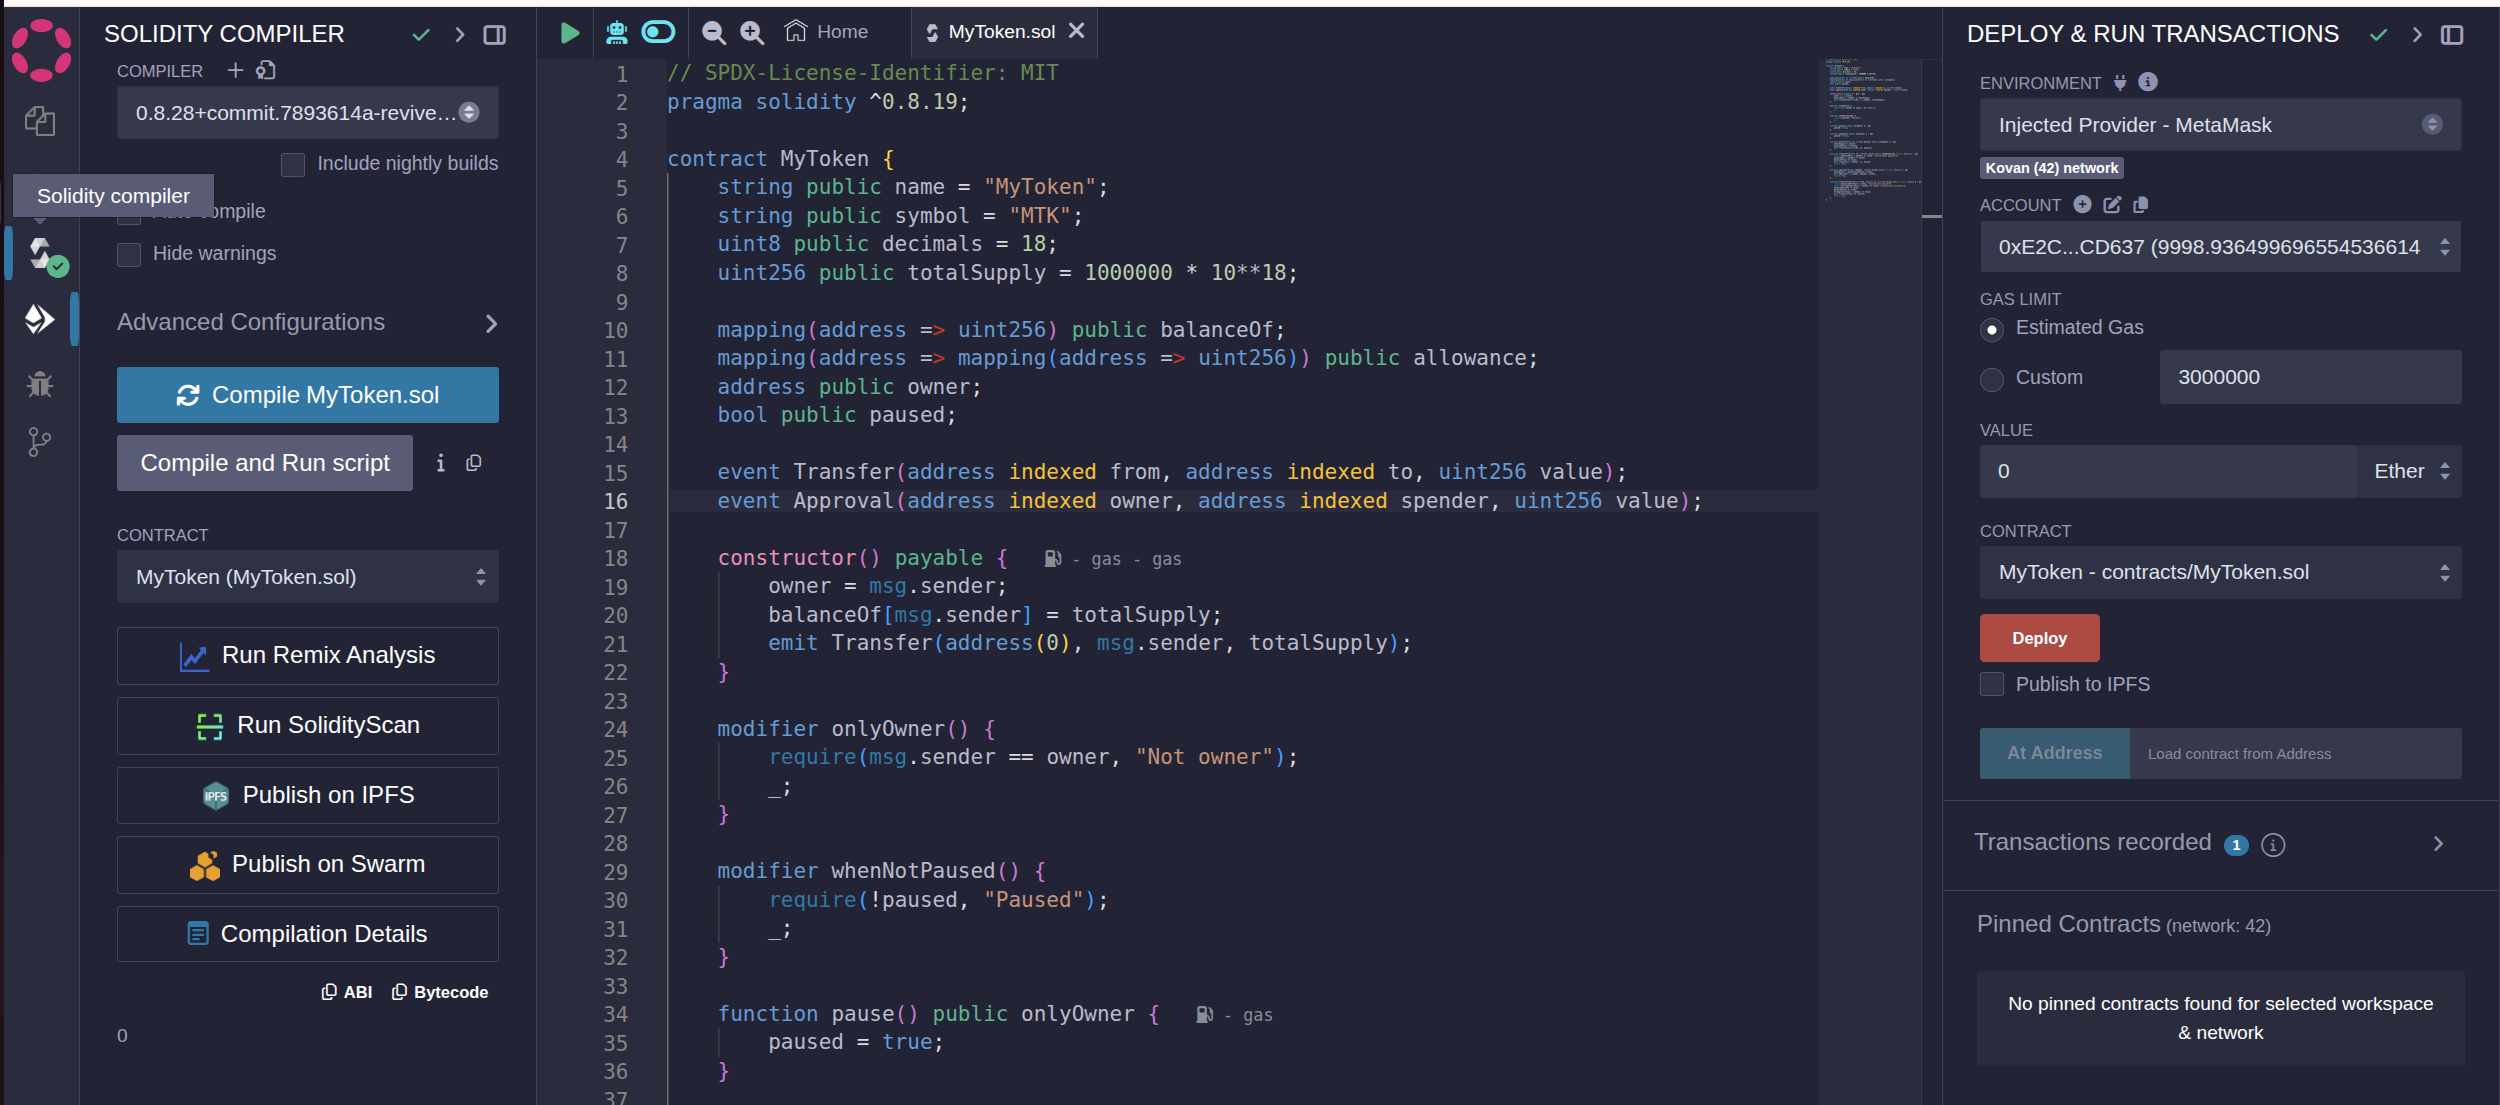
Open https://remix.polkadot.io/ for editing your Solidity contract and paste your smart contract into it:
-
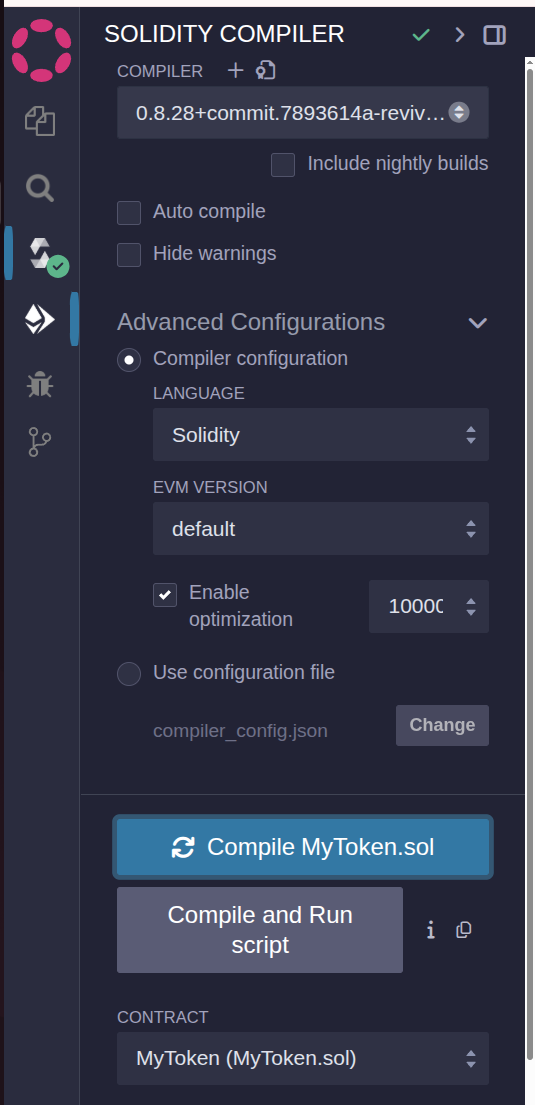
Go to the Solidity compiler tab and press ‘Ctrl+S’ to compile (or click the compile button):
-
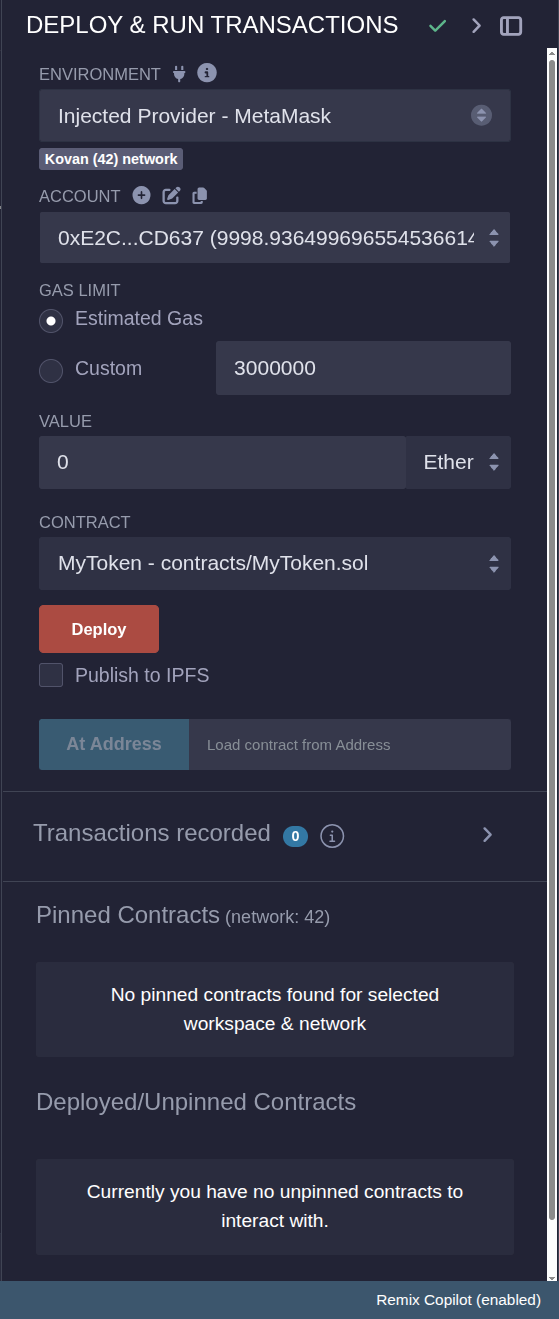
Choose the Deploy & run transactions tab:
-
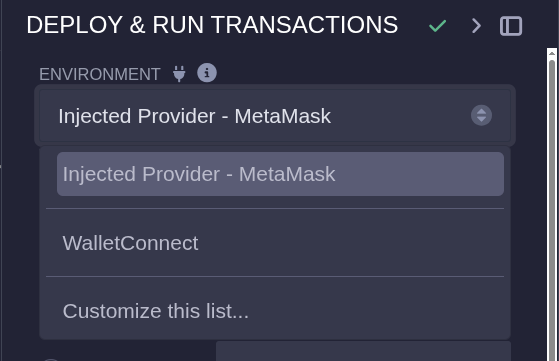
In the Environment tab, choose Injected Provider - MetaMask:
-
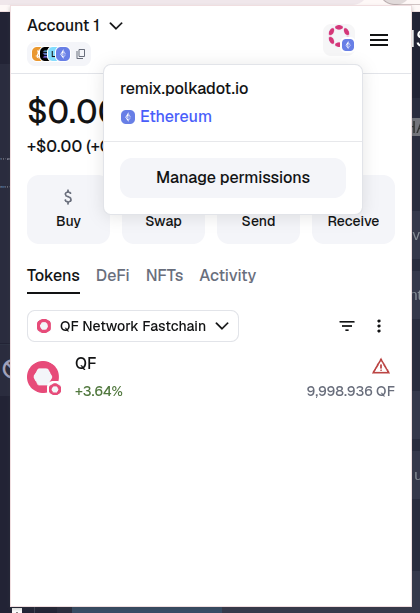
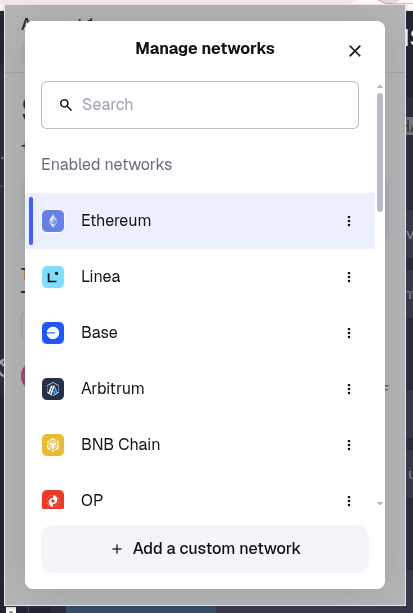
Change the network in the upper right corner of your Metamask:
-
Press on Ethereum(in my case):
-
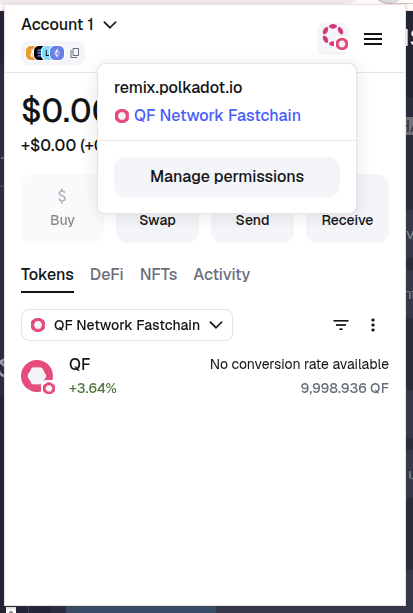
Choose QF Network:
-
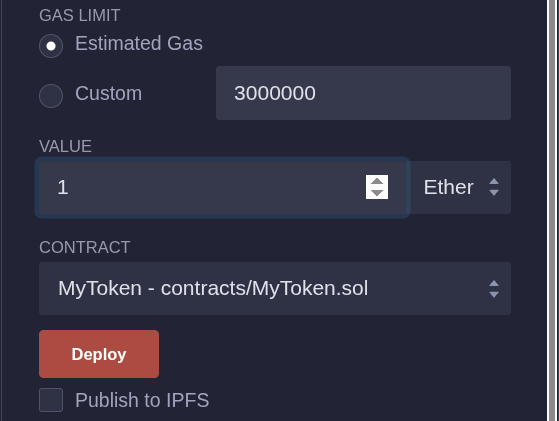
Set the value and press Deploy:
-
You will see a Confirmation tab showing the transaction details:
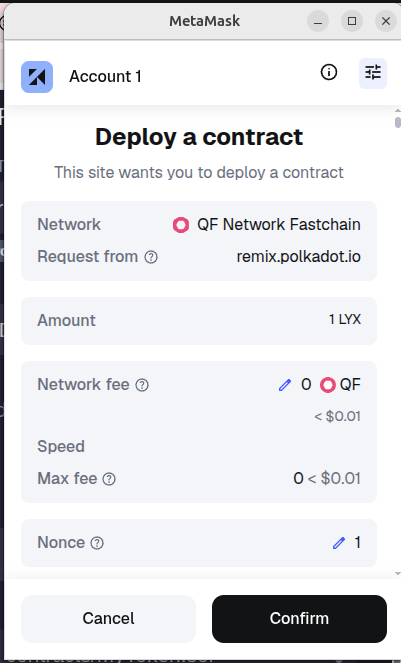
Notice the gas fees and contract address displayed—this is your deployment receipt. If the confirmation shows an error or the estimated gas is too low, open the Remix console for details and increase the gas limit before submitting.
-
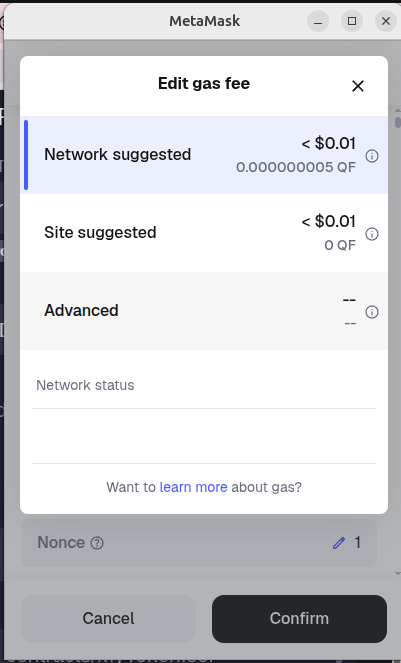
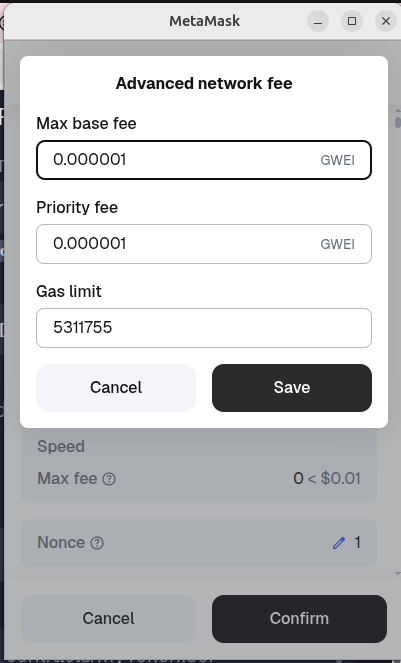
Change the network fee to advanced:
-
Press Save:
-
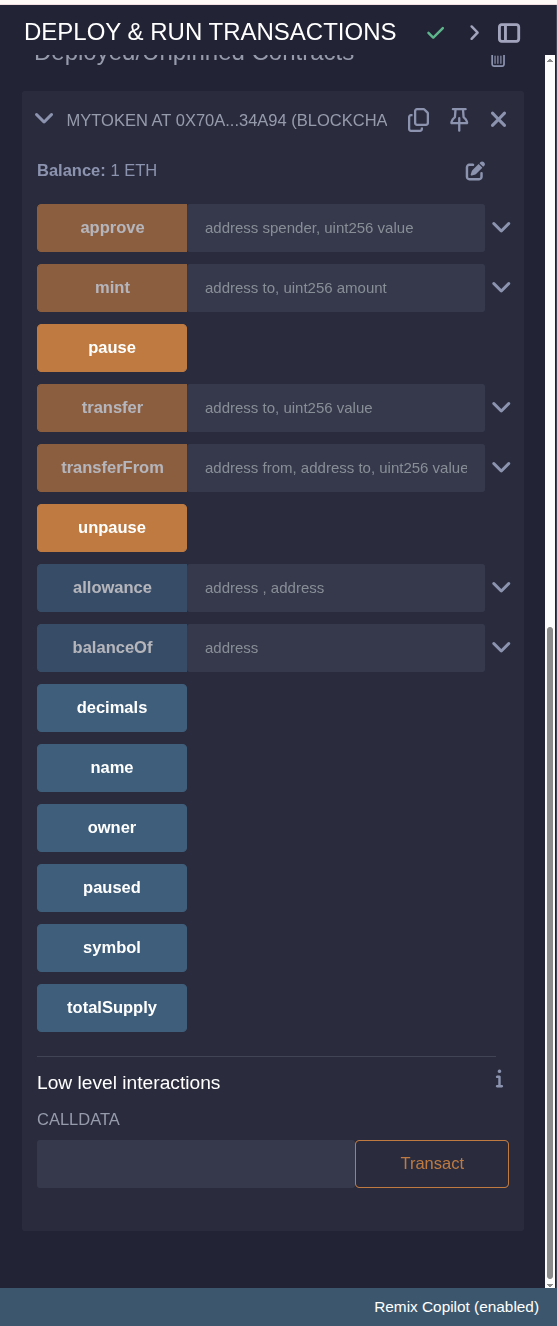
After you press Confirm, you will see your deployed contract in both Remix and MetaMask:

-
You can interact with your contract in Remix or in MetaMask:
-
Open https://portal.qfnetwork.xyz/ and search for your contract address. You will see your transaction recorded on the blockchain:
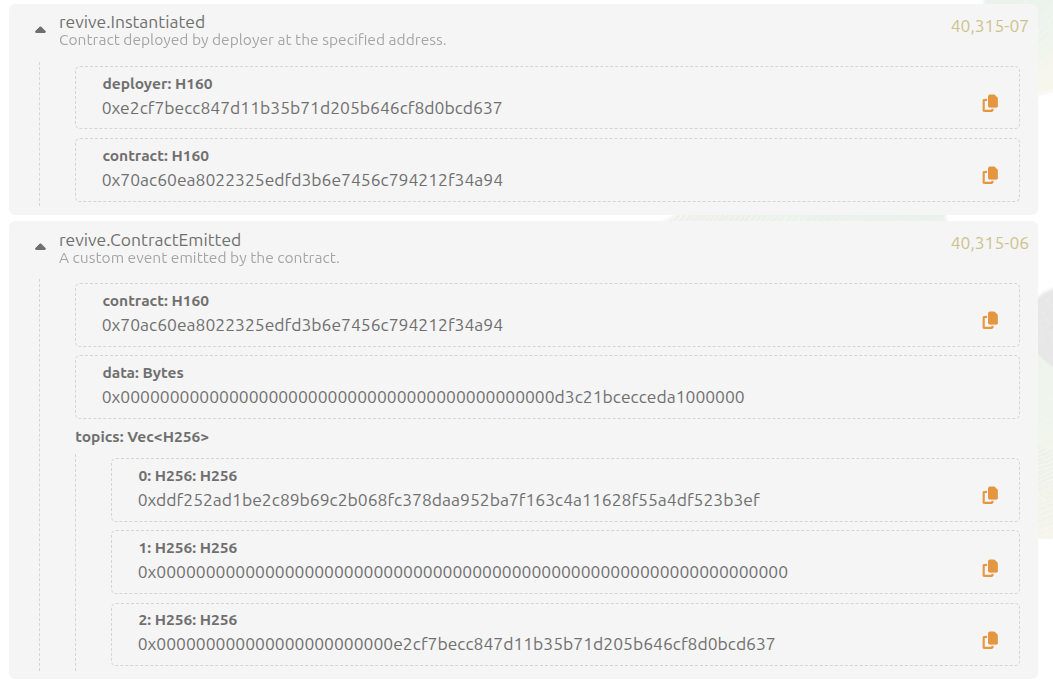
Congratulations! You have successfully deployed Solidity smart contract to QF Network.