
Connect MetaMask to QF Network
In this tutorial, we will set up MetaMask for QF Network and obtain the usual 42-character hexadecimal string Ethereum address (EIP-55) for our QF Network account.
We will proceed in three parts: adding QF Network to MetaMask, obtaining Ethereum address for our QF Network account, and transferring QF to this Ethereum address. Each part produces a visible result you can check (network in MetaMask, address, token balance). Keep MetaMask open during the exercise so you can confirm popups when prompted.
1) Connect MetaMask to QF Network
Section titled “1) Connect MetaMask to QF Network”-
Open your MetaMask:
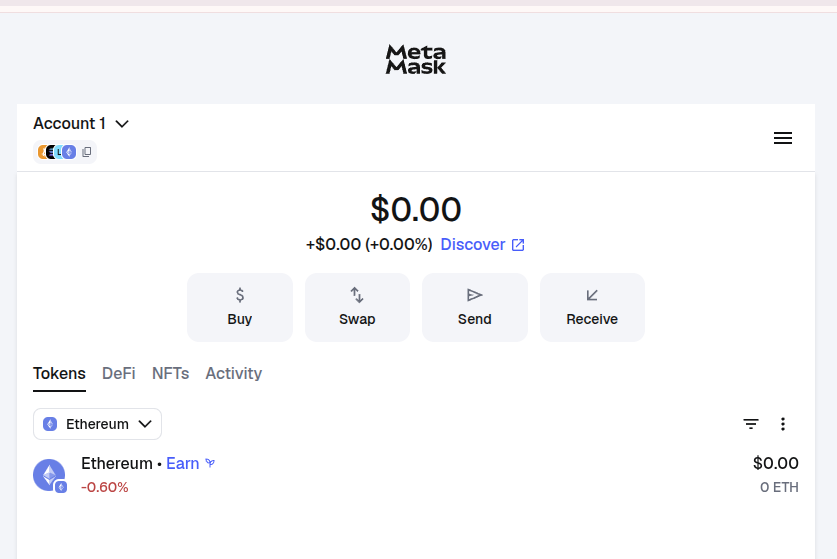
-
Press Networks:
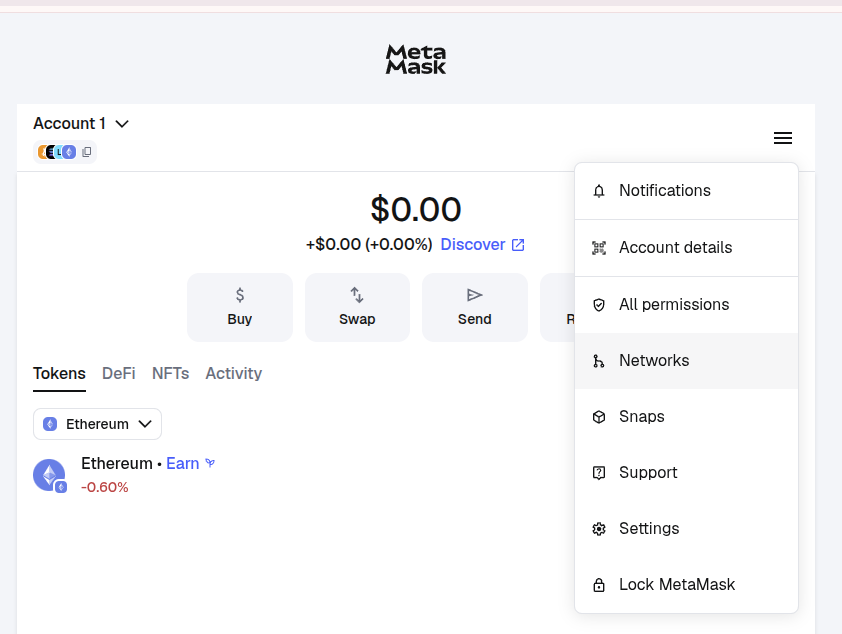
-
Press Add a custom Network:
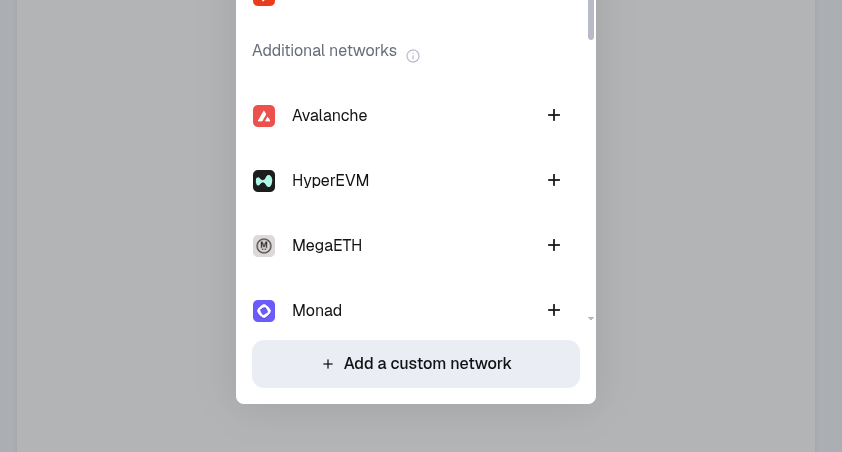
-
Enter the required data:
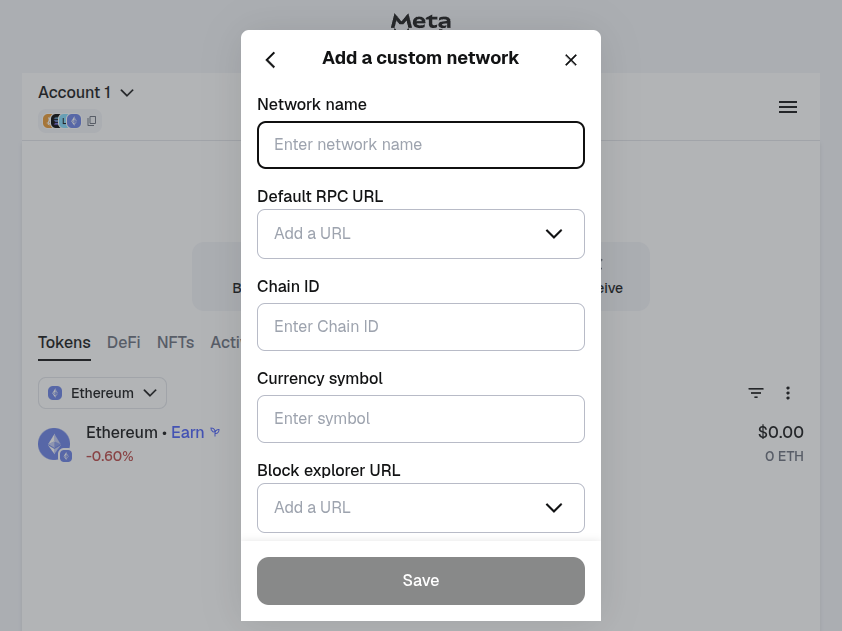
You will see a form with the following fields. Fill in each exactly as shown:
Parameter Value Network Name QF Network Default RPC URL https://archive.mainnet.qfnode.net/eth ChainId 42 Currency Symbol QF Block explorer URL https://portal.qfnetwork.xyz/?rpc=wss%3A%2F%2Fmainnet.qfnode.net#/explorer Notice: the ChainId and RPC URL must match exactly; if they are incorrect MetaMask will reject the network.
-
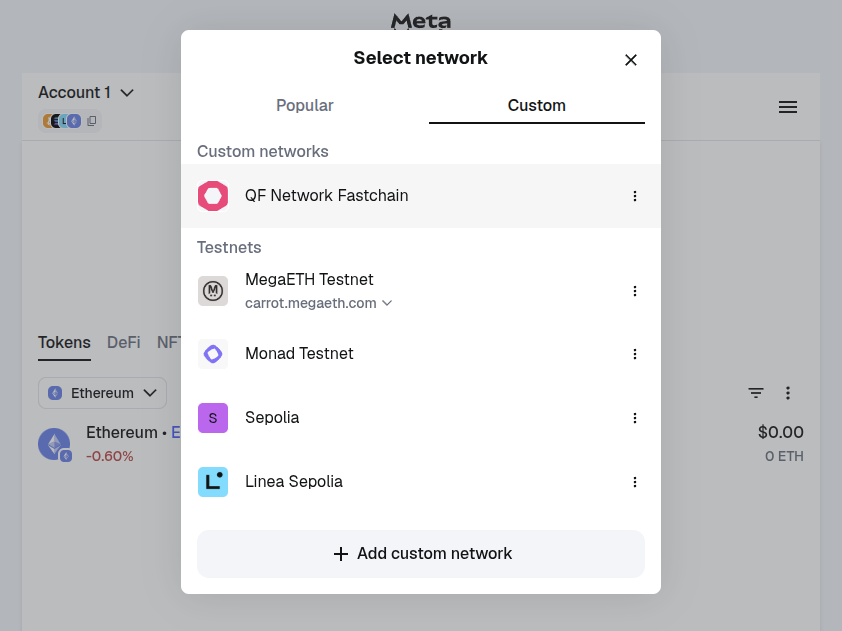
Click on the button under the ‘Tokens’ tab and choose Custom Network tab. Here you can use QF Network:
2) Obtain Ethereum address for your QF Network account
Section titled “2) Obtain Ethereum address for your QF Network account”-
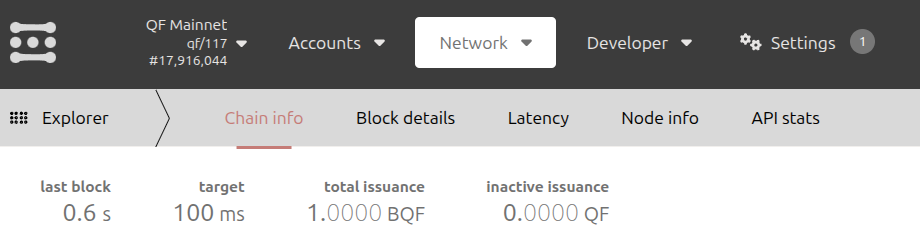
Open https://portal.qfnetwork.xyz/?rpc=wss%3A%2F%2Fmainnet.qfnode.net#/explorer
-
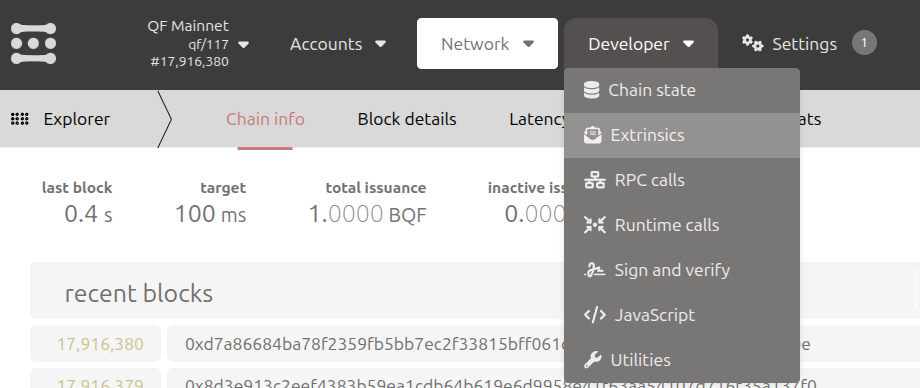
Press on the Developer tab and choose the Extrinsics button:
-
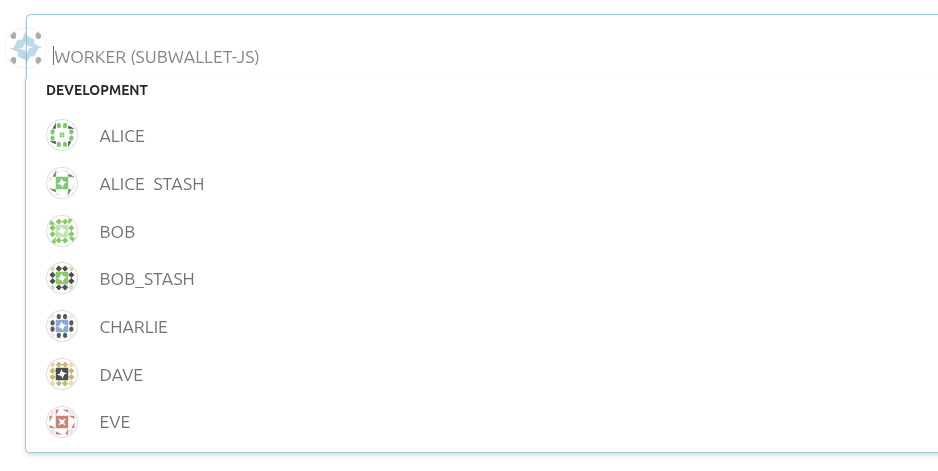
Choose your account from which you want to transfer tokens:
-
In the left tab, choose ‘revive’; in the right, choose ‘mapAccount’:
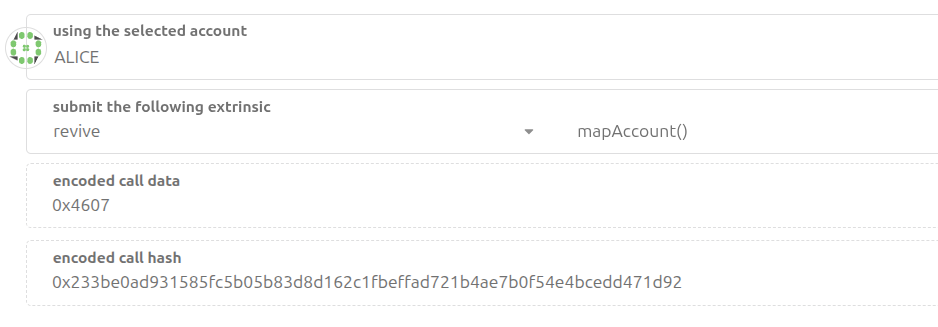
-
Sign and submit transaction:
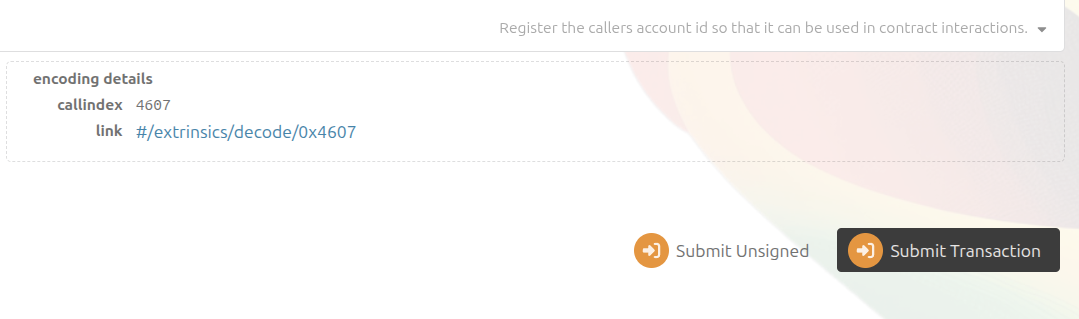
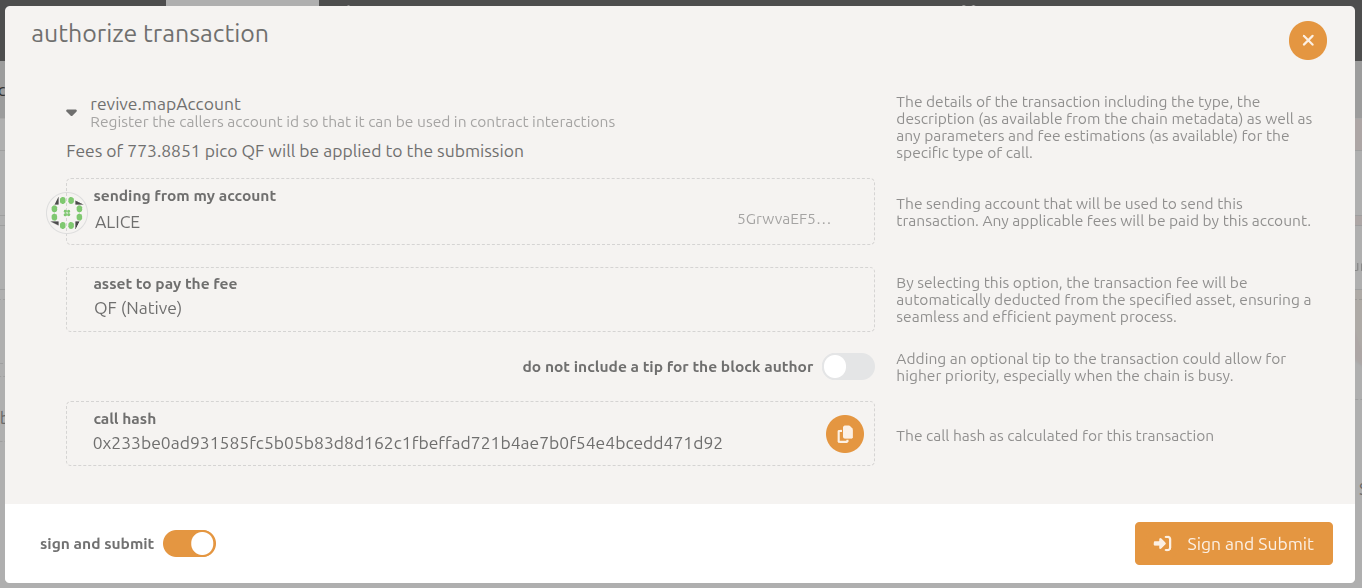
After a moment, you will see a notification confirming the transaction was successful.
3) Send QF to your Ethereum address
Section titled “3) Send QF to your Ethereum address”-
In the left tab, choose ‘revive’; in the right, choose ‘ethCall’:
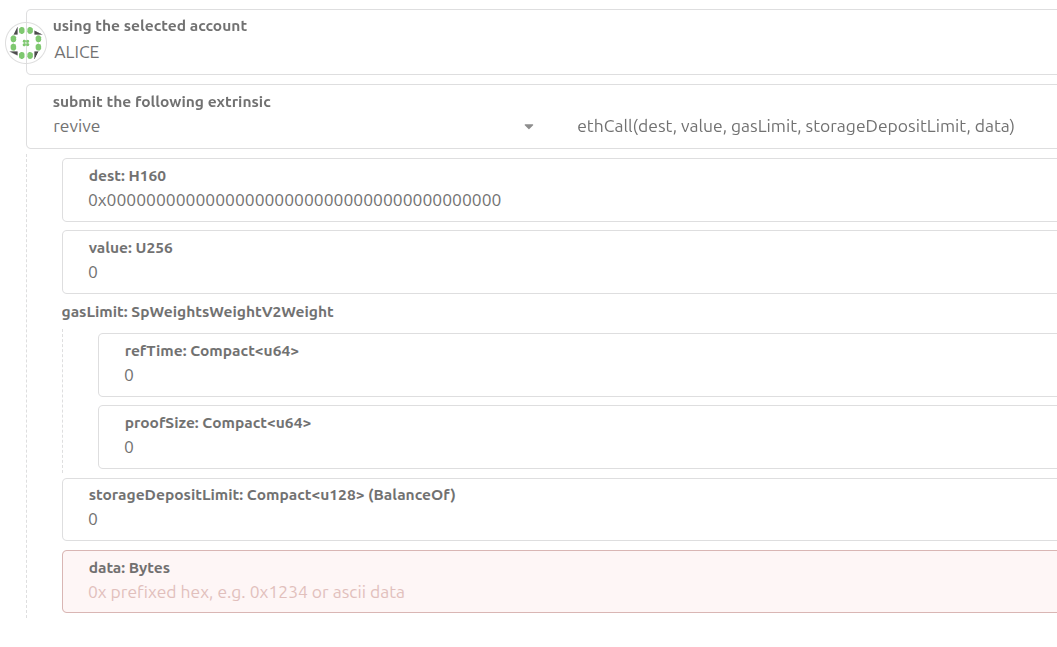
-
Paste the required data into the fields and send the transaction. You will see a form with these parameter fields:
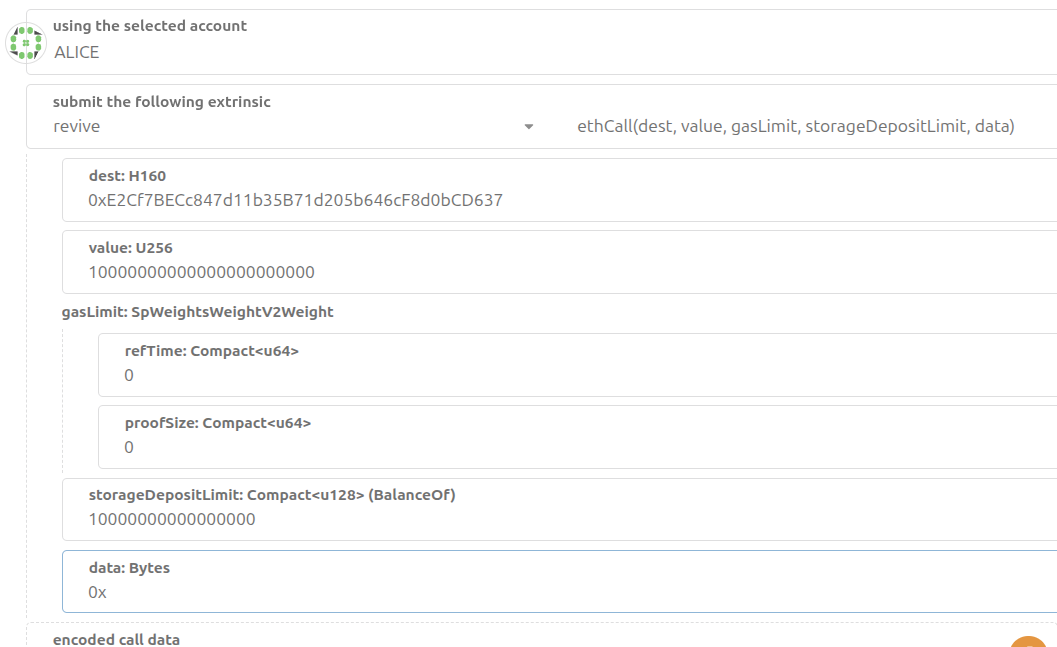
Field Description dest Your Ethereum (MetaMask) address value Amount of tokens to transfer — QF has 18 decimals (1 QF = 1_000_000_000_000_000_000) storageDepositLimit Max amount reserved for storing data on-chain (example uses 10_000_000_000_000_000) data For a simple transfer pass 0x -
Sign and submit the transaction as we did before.
-
Look at your MetaMask wallet. You should now see the QF tokens in your account:
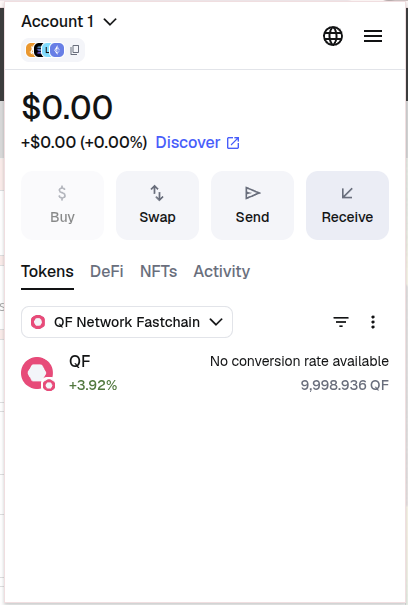
If the tokens don’t appear immediately, wait a few moments and refresh your wallet. Common causes of failure: wrong destination address format, insufficient balance to cover storage/gas, or using an incorrect number of decimals for
value.
Congratulations! You have successfully created and funded Ethereum address for your QF Network account using MetaMask. In the next steps, you will learn how to use it with Ethereum dApps running on the QF Network.